Capturing the beauty of a sunset can feel impossible. You know the struggle: your photos fall flat, missing the lively colors and drama that unfold before your eyes. I’ve been there.
After years spent chasing the golden hour across trails and rugged landscapes, I’ve learned what works.
Let’s face it. The right sunset photography tips can change everything. It’s not just about the camera settings.
It’s about seeing the light, choosing the right composition, and truly embracing the magic of the setting sun.
This guide is packed with practical strategies that will transform your twilight captures. I’ll share takeaways that go beyond the basics, so you can finally capture the raw beauty of those moments. I promise you’ll walk away with the skills to create stunning images that do justice to what you see.
Ready to raise your sunset photography? Let’s get started.
Gearing Up for Golden Hour: Must-Have Gear & Quick Settings
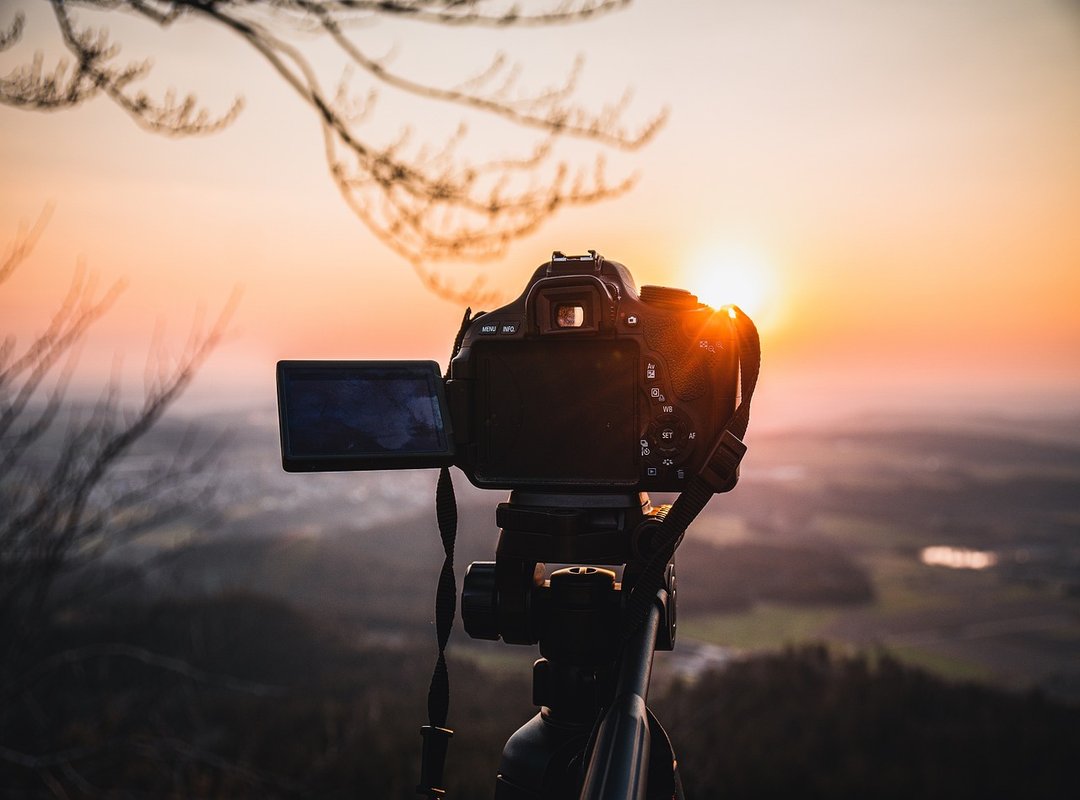
When it comes to capturing breathtaking sunsets, I can’t stress enough the importance of the right gear. Sure, smartphones are getting better, but a DSLR or mirrorless camera? They’re game changers.
You get more control, better lenses, and superior quality.
Speaking of lenses, consider a wide-angle (16-35mm) for those sweeping vistas. Want to capture the sun looking larger? A telephoto (70-200mm+) will do the trick.
And oh, don’t forget a sturdy tripod. Without it, you’re risking blur with longer exposures in fading light.
Now, let’s talk filters. Neutral Density (ND) filters? They’re important for longer exposures.
Graduated ND (GND) filters balance the sky and foreground, while polarizing filters boost colors and cut glare.
Settings can make or break your shot. Start with an aperture of f/8 to f/16 for depth of field, keep the ISO low (100-400), and adjust the shutter speed according to the exposure meter. Bracketing is your friend here.
And what about white balance? Go for ‘Daylight’ or ‘Cloudy’ presets. These naturally boost those warm sunset tones.
There you go, some practical sunset photography tips to get you started. Ready to capture that golden hour magic?
Mastering the Light: Timing, Exposure & Silhouettes
You’ve probably heard of the “Golden Hour” and the “Blue Hour,” right? They’re magical for photographers. The Golden Hour gives you that warm, soft glow just before and after sunset.
Perfect for those dreamy shots. The Blue Hour follows, casting cool, dramatic tones. Ideal if you’re going for moodiness.
Scouting locations before you shoot is key. Know where the sun will be and what will make a good foreground. Trust me, it saves loads of time.
For high-contrast scenes, spot metering on the brightest part of the sky works wonders. Or you can go the HDR route, capturing detail across the changing range.
Want dramatic silhouettes? Meter for the bright sky. Intentionally underexpose the foreground.
It’s like magic. For sunbursts, use a small aperture (f/16 or higher). Position the sun partially behind an object.
Voilà, star-like rays!
These are your sunset photography tips in action.
And don’t pack up after sunset. There’s the ‘afterglow’ (often) the most lively colors pop 15-30 minutes later. Patience pays off.
Looking for more ways to explore the outdoors? Check out our guide on setting up outdoor movie night. It’s a great way to combine adventure with relaxation.
Frame the Perfect Sunset: Your Guide to Stunning Shots
Let’s talk about sunsets, and how you can capture them like a pro. You ever notice how a picture feels balanced? That’s the Rule of Thirds at work.
Place the horizon and important elements like the sun along those intersecting lines. Trust me, it’s a game-changer.
Ever thought about leading lines? Nature gives you rivers, trails, fences. These guide the viewer’s eye right to the sunset.
It’s like magic, only real. Adding foreground interest is another trick. Rocks, trees, or even a person can add depth and scale.
Now, natural frames. Trees or arches can work wonders. They can frame your shot, making that sunset pop.
Oh, and don’t forget reflections. Bodies of water can double the impact. Symmetry, folks.
It’s solid.
Sometimes, you just need negative space. Let the vast sky and subtle colors take over. It’s minimalism at its finest.
For more sunset photography tips, check out what the pros are doing.
Pro tip: Play around with these techniques, mix them up. You’ll find your own style soon enough. So why not give these a shot and see where they take you?
Beyond the Horizon: Capturing Changing Skies and Clouds
Sunset photography is all about timing and capturing the right moment. Clouds, those fluffy sky wanderers, are important for a changing sunset. They catch and reflect light, adding texture and drama.
Without them? The sky’s just a flat canvas. But how do you anticipate their movement and formation?
Watch how clouds dance with light as the sun dips. It’s almost like a nature scavenger hunt for kids (or adults) Nature Scavenger Hunt Kids.
Now, let’s talk about getting those clouds to pop. A polarizing filter can deepen the blue skies and make clouds stand out. Just don’t point it directly at the sun.
It’s less effective that way. And if you’re serious about balancing bright skies with darker foregrounds, grab a graduated neutral density filter (GND). It’ll help preserve detail.
Want to capture the whole sky? Try panorama stitching techniques. They offer wide, immersive shots that convey the sunset’s true scale.
Experiment with different perspectives. Shoot from low angles to emphasize cloud formations or climb higher for sweeping vistas.
Sunset photography tips often miss this but here’s a pro tip: Always be open to what the sky offers. Embrace the unpredictability.
Post-Processing Essentials: Amp Up Your Sunset Shots
Shooting in RAW is the first thing you should do. Why? Because it keeps all the image data you’ll need for flexible editing.
JPEGs just don’t cut it (trust me on this).
When you jump into post-processing, start with the basics. Adjust the White Balance to bring out the sunset’s natural warmth. Tweak Exposure and boost Contrast to add depth.
Color enhancement is where you can really mess things up. Know the difference: Saturation affects the whole image, while Vibrance targets the muted colors, making them pop without overdoing it.
Now, let’s talk highlights and shadows. Recover blown-out skies and lift those murky foreground shadows. It’s like magic, but real.
And don’t forget sharpening and noise reduction. Adding crispness is great, but higher ISOs can introduce unwanted noise. Manage it carefully.
Local adjustments are your secret weapon. Use tools like graduated or radial filters to selectively boost parts of your photo. It’s like having a mini GND filter in your editing software.
These sunset photography tips can transform your shots from meh to wow. But hey, I’m not saying it’s easy. It takes practice.
Still, isn’t that what makes it rewarding?
Capture the Magic
You’ve got the sunset photography tips to make your shots come alive. No more missing the magic or settling for lifeless images.
Understanding light, mastering your gear, and refining your composition changes everything. You’ll transform ordinary moments into extraordinary memories.
So, grab your camera. Head outdoors and let the setting sun fuel your creativity.
Get out there and capture those breathtaking twilight moments.
Share your golden hour adventures and let your perspective shine.
Now is the time to raise your photography. Don’t wait. The sunset won’t last forever.
Let’s see what you can create!