I’ve seen a lot of fitness trends come and go, but the otot² (o²) aesthetic is something else. It’s not just about big muscles. No, this look is all about extreme definition and vascularity.
You know, that “dry” or “shrink-wrapped” appearance.
It’s different from your typical bodybuilding photos, and those are more about sheer size. But with otot², it’s the details that matter.
Deep separations between muscle groups, visible striations, and rock-hard abs.
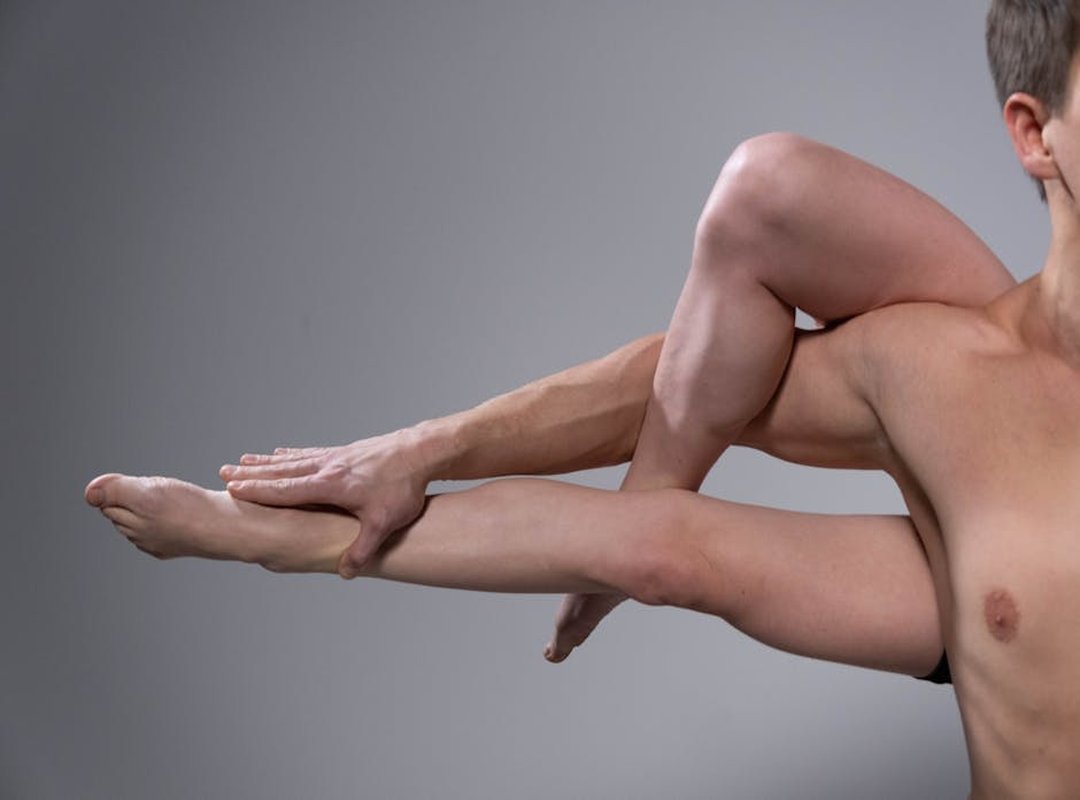
Take a look at some of these photos. The serratus anterior muscles are on full display, and the quadriceps have clear separation. It’s like every muscle fiber is screaming for attention.
This look is a peak moment, achieved through a mix of very low body fat, targeted training, and some seriously good photography. It’s not something you can maintain long-term, but man, does it make an impact.
Training Principles for a Photo-Ready Physique
Set Realistic Expectations
First things first. Getting that photo-ready physique is not something you can maintain year-round. It’s a peak condition, and it’s tough.
Most people can’t sustain it because of how demanding it is.
Focus on Intense Resistance Training
I’m a big believer in compound movements, and squats, presses, and rows. These exercises hit multiple muscle groups at once, helping you preserve muscle mass while you’re cutting calories.
It’s the foundation of any solid training plan.
Strategic Isolation Exercises
Isolation exercises are like the fine-tuning. They help refine the shape and enhance the separation of key ‘show’ muscles. Think shoulders, arms, and calves.
These are the muscles that really pop in photos.
Peak Week Protocol
Peak week is where the magic happens. Athletes manipulate water, sodium, and carbs to reduce water under the skin. This makes muscles look harder and more defined.
It’s a short-term strategy, but it works wonders for that final push before a shoot.
o²
Nutritional Foundation
Nutrition is key. You need to be in a consistent calorie deficit to lower body fat. But don’t skimp on protein.
Aim for about 1 gram per pound of body weight. This helps protect the muscle you’ve worked so hard to build.
Disclaimer
Advanced techniques like water manipulation should be approached with caution. Do your research and, if possible, get guidance from an experienced coach. It’s not something to mess around with without proper knowledge. otot² (o²) photos
Pro tip: Always consult a professional before trying advanced techniques. Safety first!
The Photographer’s Guide: Mastering Lighting and Angles
Start with an anecdote about the first time I tried to take a muscle photo. I had this great physique, but the pictures looked flat and lifeless. That’s when I learned the single most important rule of muscle photography: lighting creates definition.
Hard, directional light is non-negotiable for carving out shadows that make muscles ‘pop’. Compare it to soft, direct front lighting or overhead gym lighting. Harsh sidelight reveals every detail, while softer lights can make a defined physique look flat and smooth.
At home, you can use a single strong light source. A desk lamp or even a phone’s flashlight works. Position it to the side or slightly above to create dramatic shadows.
It’s simple but effective.
Camera angles are just as crucial. Shooting from a slightly lower angle makes the subject appear more heroic and larger. On the other hand, a higher angle can emphasize shoulder width and a v-taper.
Experiment with both to see what works best for you.
o² photos can really help here. They show the difference in how light and angles impact the final image. You can see the dramatic change in definition and overall look.
Using a smartphone’s portrait mode is a game-changer. This feature blurs the background, forcing the viewer’s eye to focus solely on the subject’s physique. It’s a quick and easy way to get professional-looking results.
Stability and posing are key. Use a tripod or prop your phone against an object. Then, use the self-timer.
This frees up your hands and allows for better, more stable posing. Trust me, it makes a huge difference.
In the end, it’s all about experimenting and finding what works for you. With the right lighting and angles, you can capture the true essence of your hard-earned physique.
Posing Techniques to Instantly Enhance Definition
Posing is a skill that creates an illusion of greater size and definition than what might be visible when relaxed. It’s all about angles, tension, and the right kind of flex.
Creating torque is a core concept in posing. This involves twisting the torso while keeping the feet planted, which can tighten the midsection and enhance the appearance of a v-taper.
A simple yet effective pose to start with is the hands-on-hips pose. This flares the lats and broadens the shoulders. Another great option is a side pose, which highlights oblique and arm definition.
Pro tip: Fully exhale all air and hold it out right before flexing for the otot² (o²) photos. This action tightens the core and can dramatically increase visible abdominal definition.